How to Organize Your Pantry
A Step-by-Step Guide with a Dash of Humor (and a little helping of ChatGPT)
Ah, the pantry. That magical place where snacks disappear faster than socks in a dryer and where you’re likely to find a can of beans from 2005. It’s time to tame the chaos and bring some order to your pantry. Here’s a step-by-step guide to help you organize your pantry, sprinkled with a bit of humor to make the process less daunting.
Step 1: Empty the Abyss
Start by taking everything out of your pantry. Yes, everything. Even that dusty jar of pickled beets that your Grandma gifted you. Lay it all out on your kitchen counter and prepare for the inevitable existential crisis of wondering how you accumulated so much stuff.
Pro tip: First take some “before” photos. Then pretend you’re on an episode of a home makeover show and make dramatic faces as you pull out each item. “What is this? Why do I have eleven jars of pickles?”
Step 2: Clean Like You’ve Never Cleaned Before
Now that your pantry is empty, it’s time to clean it. Wipe down the shelves, vacuum the corners, and maybe even say a little prayer to the pantry gods for good measure. This is your chance to start fresh.
Pro tip: Put on some upbeat music. There’s nothing like scrubbing sticky syrup off a shelf to the tune of “Eye of the Tiger.”
Step 3: Sort and Categorize
Separate your items into categories: snacks, canned goods, baking supplies, spices, etc. This is where you get to channel your inner kindergarten teacher. Create little zones like you’re designing a tiny, edible city.
Step 4: Check Expiration Dates
Go through each item and check the expiration dates. Yes, it’s time to part ways with that can of soup that expired during the last presidential administration. If it’s past its prime, toss it.
Pro tip: Have a mini farewell ceremony for each expired item. “Goodbye, old friend. We never did get to make that lentil soup, did we?”
Step 5: Choose Your Storage Solutions
Invest in some storage containers, bins, and baskets. Here are some specific storage solutions to consider:
- Clear Plastic Bins: Great for grouping similar items together. Perfect for snacks, pasta, or baking supplies.
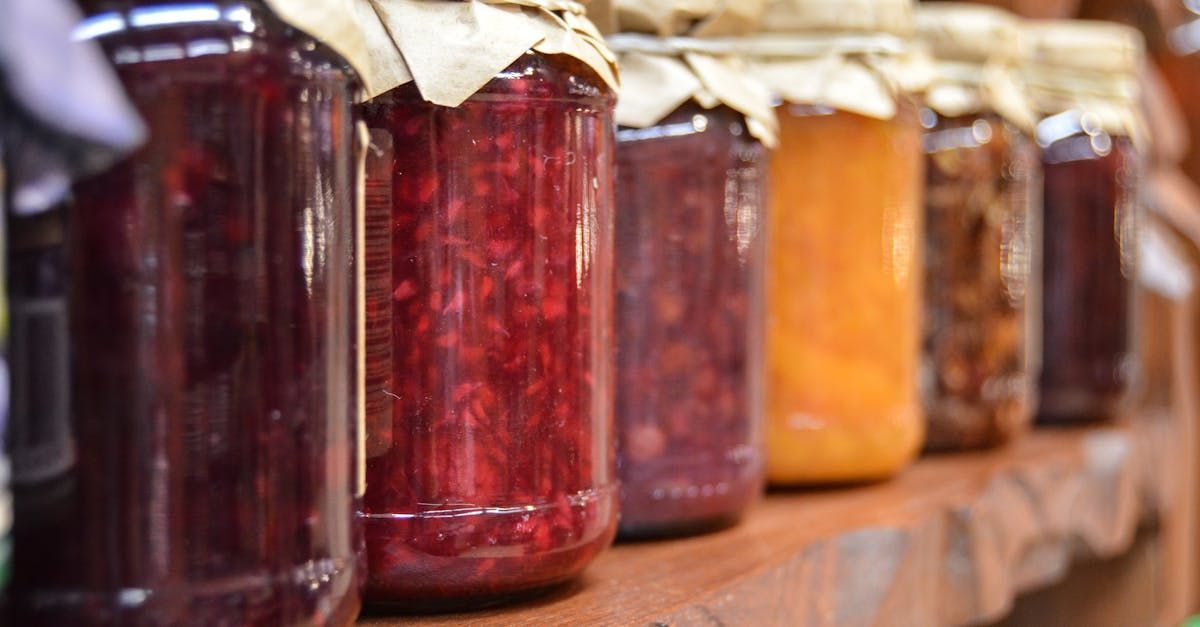
- Glass Jars: Ideal for dry goods like flour, sugar, and grains. They keep food fresh and give your pantry a chic, uniform look.
- Lazy Susans: Perfect for those hard-to-reach corners. Use them for oils, vinegars, and sauces. Spin it around and voila!
- Tiered Shelving: Helps you see all your canned goods at a glance. No more stacking cans precariously. Be sure to put them at eye level so you can read the labels.
- Over-the-Door Organizers: Utilize the back of your pantry door for extra storage. Great for spices, condiments, or possibly your medicine collection.
- Wire Baskets: Ideal for produce like potatoes and onions. They allow for air circulation, keeping your veggies fresh.
- Clip-On Shelf Baskets: Hang these under your shelves for additional storage space. Perfect for boxes of wrap, paper plates, napkins, etc.
Pro tip: Use a label maker or chalkboard labels to name your containers. Everyone needs to know where things go. And because nothing says “I have my life together” like a neatly labeled jar of quinoa.
Step 6: Consider Accessibility
Think about who needs to reach what and make items accessible. If you have kids, make sure their snacks are within their reach to avoid the classic “Mom, where are the cookies?” Make the items you use most often the easiest to access. That way, you won't have to do a gymnastics routine every time you need the olive oil.
Pro tip: Put the least used items on the top shelves. Those holiday cookie cutters can live up there in peace until next December.
Step 7: Maximize Space
Use all the tricks in the book to maximize your pantry space. Install can risers, use stackable bins and wire plate shelves. Your goal is to use every inch of available space without making it look like a game of pantry Tetris.
Step 8: Put Everything Back
Now it’s time to put everything back in its new, organized home. Place items in their designated zones and take a step back to admire your handiwork. Your pantry should now be a harmonious haven of food storage.
Pro tip: Take an “after” picture. You’ll want to remember this moment of triumph forever.
Step 9: Maintain the Order
The key to a well-organized pantry is maintenance. Make it a habit to regularly check for expired items and reorganize as needed. This will prevent your pantry from reverting to its former chaotic state.
Pro tip: Schedule a monthly pantry check-up. Put it in your calendar like it’s a very important meeting. Because it is.
Step 10: Enjoy Your Organized Pantry
Now that your pantry is organized, enjoy the fruits (and snacks) of your labor. Cooking will be easier, snacks will be easier to find, and you’ll have a sense of accomplishment every time you open that pantry door.
Pro tip: Show off your organized pantry to friends and family. You deserve the bragging rights. “Oh, this old thing? Yes, it is perfectly organized, thank you for noticing.”
By following these steps, you’ll transform your pantry from a cluttered mess to a well-oiled machine. And who knows? Maybe you’ll even inspire others to tackle their own pantry projects. Happy organizing!